OUR PROCESS
OUR PROCESS
Our Process
THE MINI RESTORATION COMPANY

Each Classic Mini we restore follows this same procedure, to ensure that you 100% over the moon with your restoration project as well as allowing us to know exactly what each vehicle requires at every stage of the restoration process. We usually have multiple projects working in tandem, so it makes sense to follow a regimented plan for each one.
We urge all of our customers to visit the shop at any point throughout the process!
Our Process
THE MINI RESTORATION COMPANY

Each Classic Mini we restore follows this same procedure, to ensure that you 100% over the moon with your restoration project as well as allowing us to know exactly what each vehicle requires at every stage of the restoration process. We usually have multiple projects working in tandem, so it makes sense to follow a regimented plan for each one.
We urge all of our customers to visit the shop at any point throughout the process!
STEP 1.
DESIGN CONSULTATION
Each of our restoration projects starts with a design consultation. It gives you the opportunity to describe exactly what you want. These meetings range from 2 minutes to a couple of hours and can be as in depth as you like.
Items Discussed in Design Consultation:
Having a design consultation, prevents us from going off base and ensures you are happy with the end result.
At this stage we also urge all of our customers to bring in pictures of the vehicle in its prime. This helps us visualise your project and we love to hear your history with classic minis.
So if you want to recreate the car your dad owned in the 60’s or have admired classic minis for years and now you want one of your own…you have come to the right place!

Step 2.
ASSESSMENT & PLANNING
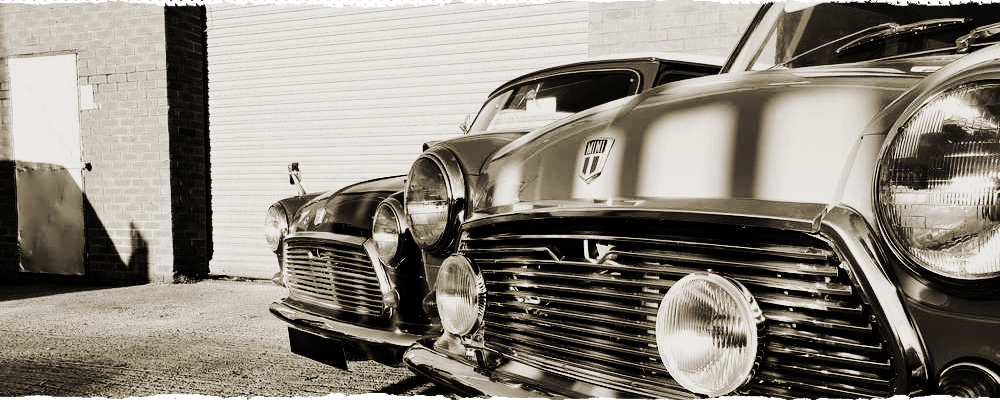
This is a relatively simple but essential step.
Basically we take stock of your vehicle, we look at the current condition of the body work, interior, electronics, steering system, engine, brakes etc… and make a long to do list of everything that needs completing in order to restore your mini to its former glory and to your requirements. After this step is complete we provide you with an estimate of project costs.
Step 3.
STRIP DOWN VEHICLE
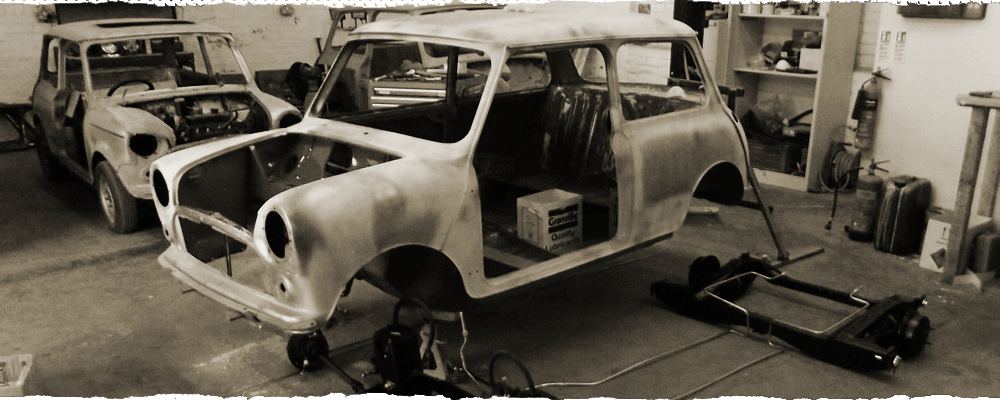
When we strip down a vehicle, it is much more complicated than most people think.
No only do we strip it down to its bare metal, but we also store and catalogue every part, wire, nut and screw.
We log the conditions of each piece, noting down where parts can be re-used or need to be replaces. we also consider whether certain parts can be refurbished. At the end of this step we are able to provide you with a much more accurate picture of what the project entails and the costings involved.
Step 2.
ASSESSMENT & PLANNING

This is a relatively simple but essential step.
Basically we take stock of your vehicle, we look at the current condition of the body work, interior, electronics, steering system, engine, brakes etc… and make a long to do list of everything that needs completing in order to restore your mini to its former glory and to your requirements. After this step is complete we provide you with an estimate of project costs.
Step 3.
STRIP DOWN VEHICLE

When we strip down a vehicle, it is much more complicated than most people think.
No only do we strip it down to its bare metal, but we also store and catalogue every part, wire, nut and screw.
We log the conditions of each piece, noting down where parts can be re-used or need to be replaces. we also consider whether certain parts can be refurbished. At the end of this step we are able to provide you with a much more accurate picture of what the project entails and the costings involved.
STEP 4.
BODY WORK & PAINTING
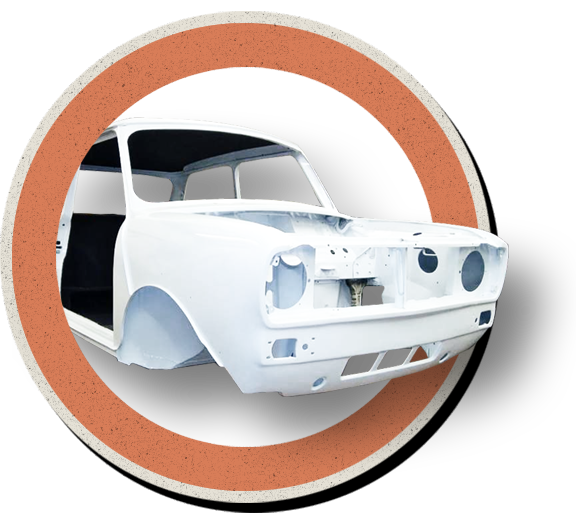
Once the car has been stripped to bare metal and all of the parts have been catalogued, we set to work on the body. Welding, removing rust, testing the metal for structural integrity, removing dents and other body work for the new parts. This is especially important if we are adding new parts not original to the car such as wheel spats, roof aerials, opening sun roof etc . . .
Once all the prep work is complete, we treat the metal with a zinc based epoxy primer. The final step is to, load the vehicle into our van and transport the vehicle to our professional paint shop, located in Stoke-On-Trent. This is an award winning body shop who specialise in body work on classic cars!
We provide them with as much information as possible, most of the time we provide them with the colour codes to the exact colours you requested in your design consultation. We also provide them with detailed plans of exactly what colour is going where. (Step 4 and Step 5 are completed in tandem)
STEP 4.
BODY WORK & PAINTING

Once the car has been stripped to bare metal and all of the parts have been catalogued, we set to work on the body. Welding, removing rust, testing the metal for structural integrity, removing dents and other body work for the new parts. This is especially important if we are adding new parts not original to the car such as wheel spats, roof aerials, opening sun roof etc . . .
Once all the prep work is complete, we treat the metal with a zinc based epoxy primer. The final step is to, load the vehicle into our van and transport the vehicle to our professional paint shop, located in Stoke-On-Trent. This is an award winning body shop who specialise in body work on classic cars!
We provide them with as much information as possible, most of the time we provide them with the colour codes to the exact colours you requested in your design consultation. We also provide them with detailed plans of exactly what colour is going where. (Step 4 and Step 5 are completed in tandem)
Step 5.
PARTS SOURCING
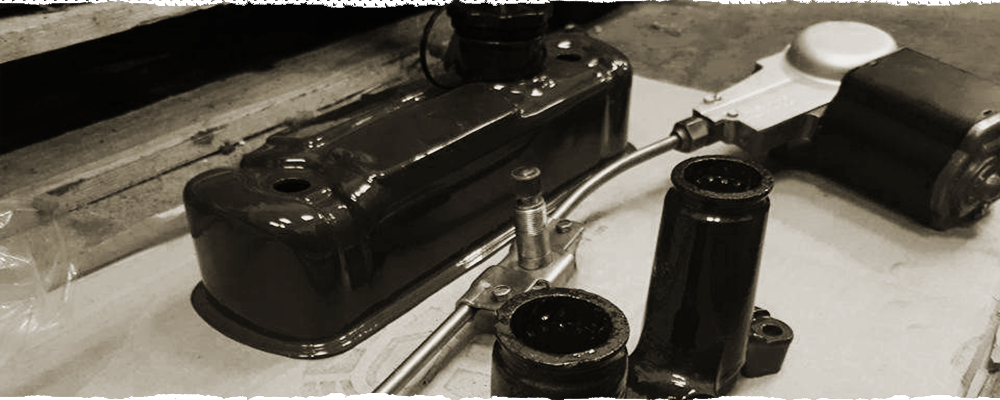
Part sourcing starts the moment your vehicle has been stripped down, this is because hunting down parts can take quite a lot of time, the more rare the part usually the more difficult it is to find.
Part sourcing isn’t just buying in new/used parts from dealers or suppliers. A lot of the time we refurbish parts taken from your vehicle such as dials, clocks, switches, badges and much more…
Obviously refurbishing isn’t always possible.
Step 6.
MECHANICAL WORK
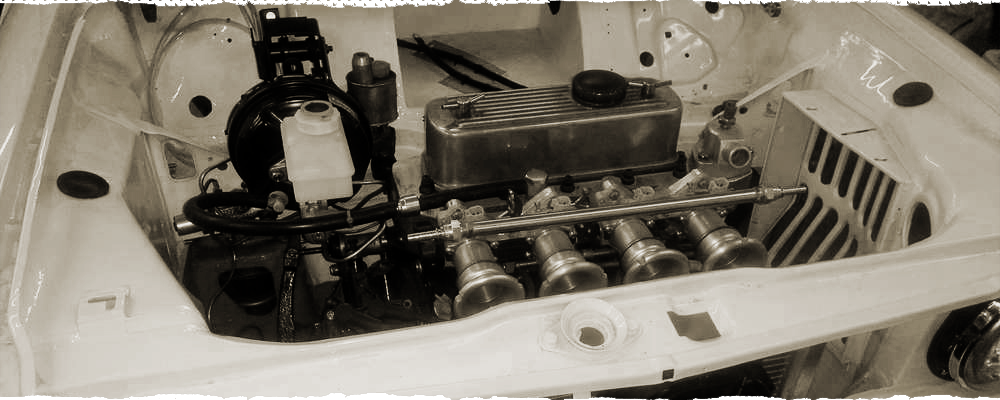
This step starts whilst the body is away for painting. Engines differ heavily from project to project. Classic Minis used many different engines from decade to decade, model to model.
But predominantly, it consists of painstakingly rebuilding the engine, transmission, braking system, exhaust system, electronics and all other systems related to the engine. and to make them “like new”.
We do this, using a wide range of refurbished, new or original parts.
Step 5.
PARTS SOURCING

Part sourcing starts the moment your vehicle has been stripped down, this is because hunting down parts can take quite a lot of time, the more rare the part usually the more difficult it is to find.
Part sourcing isn’t just buying in new/used parts from dealers or suppliers. A lot of the time we refurbish parts taken from your vehicle such as dials, clocks, switches, badges and much more…
Obviously refurbishing isn’t always possible.
Step 6.
MECHANICAL WORK

This step starts whilst the body is away for painting. Engines differ heavily from project to project. Classic Minis used many different engines from decade to decade, model to model.
But predominantly, it consists of painstakingly rebuilding the engine, transmission, braking system, exhaust system, electronics and all other systems related to the engine. and to make them “like new”.
We do this, using a wide range of refurbished, new or original parts.
STEP 7.
REBUILD VEHICLE
At this point of your project, the body work is complete, the engine and related systems are all installed and the whole vehicle is starting to come together.
But obviously, there is still a lot to do, we have to put in the steering rack, the axles, suspension, build each of the wheel hubs and hook up the breaking system, install all the external body fittings, the windows need putting in, the lights complete with electronics and a whole host of other things!
Simply put, we rebuild the vehicle and make sure that every system is installed correctly and work as if it has just rolled off the factory floor.
We also add any and all aesthetics on the exterior of the car, such as alloys, decals, badges, chrome work, window stickers and anything else you requested in your design consultation.

STEP 8.
INSTALL INTERIOR
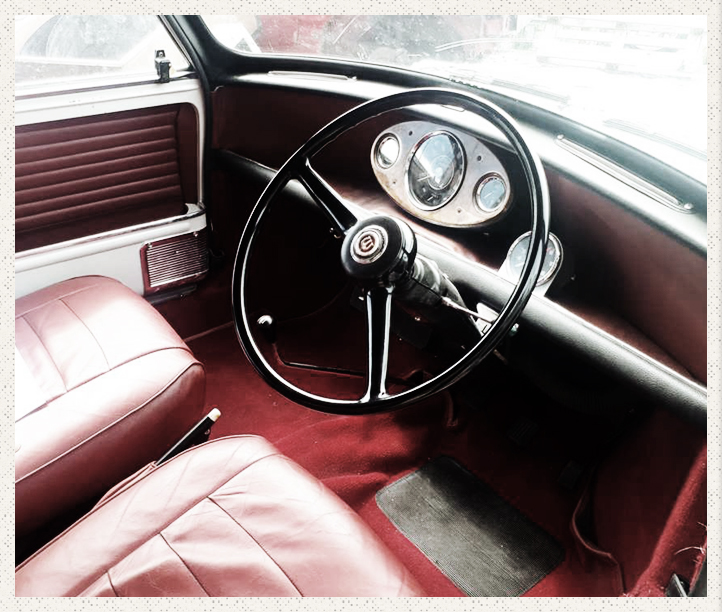
This is the final step we complete before we consider the vehicle “drivable”.
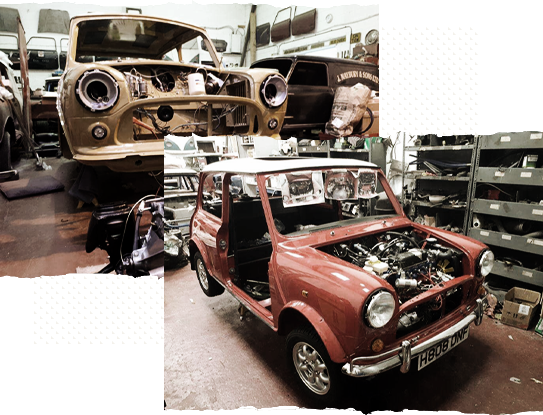
The interior of the vehicle is anything that would be found inside the car such as door cards, handles, steering wheel, carpeting, seats, mats, gear knob, rubber seals and as lots of small fiddly things that make the inside of the vehicle beautiful.
Of course, you can have a fully customised interior or we can follow the exact factory design for your particular Mini. Alternatively, if the current interior is of sufficient quality, we may be able to refurbish and re-use it.
STEP 8.
INSTALL INTERIOR

This is the final step we complete before we consider the vehicle “drivable”.
The interior of the vehicle is anything that would be found inside the car such as door cards, handles, steering wheel, carpeting, seats, mats, gear knob, rubber seals and as lots of small fiddly things that make the inside of the vehicle beautiful.
Of course, you can have a fully customised interior or we can follow the exact factory design for your particular Mini. Alternatively, if the current interior is of sufficient quality, we may be able to refurbish and re-use it.
Step 9.
INTERNAL TEST
Our internal test, basically refers to us testing everything on the car, to make sure every aspect of the vehicle works as it should, from windows wipers, breaking system, all the way to your radio and engine! No stone is left unturned, we pride ourselves on restoring your Classic Mini back to brand new standards!
We complete multiple road tests and listen for any squeaks or knocks and to make sure the car is safe before handing it over.
Step 10.
3RD PARTY MOT TEST
On penultimate step is to send your Mini to a very well known and respected MOT garage based in St Helens. We have them complete a full MOT on your vehicle, even though most classic vehicles are exempt! This is to remove any bias that we may have and to give you peace of mind that the vehicle is safe to drive.
We will furnish you with the MOT certificate and all documentation pertaining to the safety of the vehicle.
STEP 11.
PROJECT COMPLETION
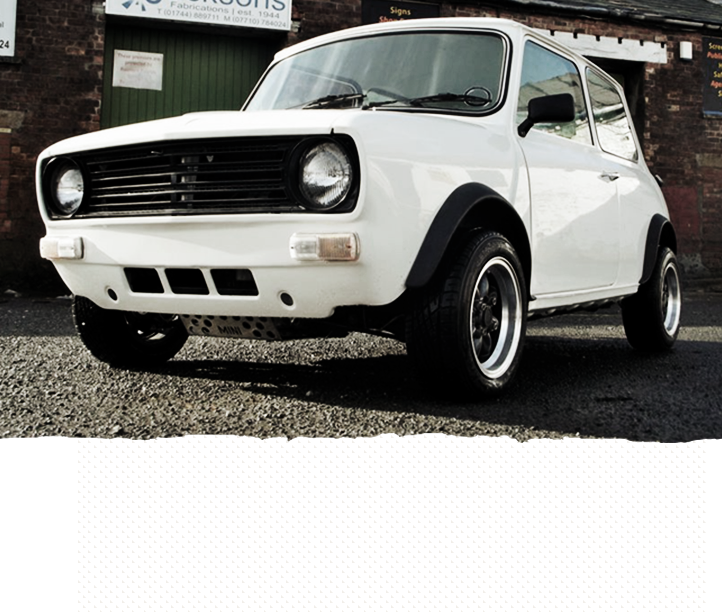
Finally, the day has come. Your project is complete!
You can of course come to the shop to view your Classic Mini, where we will go over every inch of the vehicle and give you all the details you would like.
Every step is recorded in depth, throughout each project we take somewhere close to 1500 pictures, documenting every single thing we did to your car in order to get it looking as amazing as it does!
In the highly unlikely event that the vehicle is not to your satisfaction, or something discussed in your design consultation hasn’t been completed, we would ask for the opportunity to resolve the issue. This has never happened but we do like to stress this point, simply because we know how important these projects are to our customers.
We can deliver the vehicle to you and in some cases we have even shipped your car abroad.
The last thing we do, is hand over the keys, jump into the passenger seat and allow you to take out the vehicle for your first drive in your new Classic Mini Restoration, just to be absolutely sure you are happy.

